
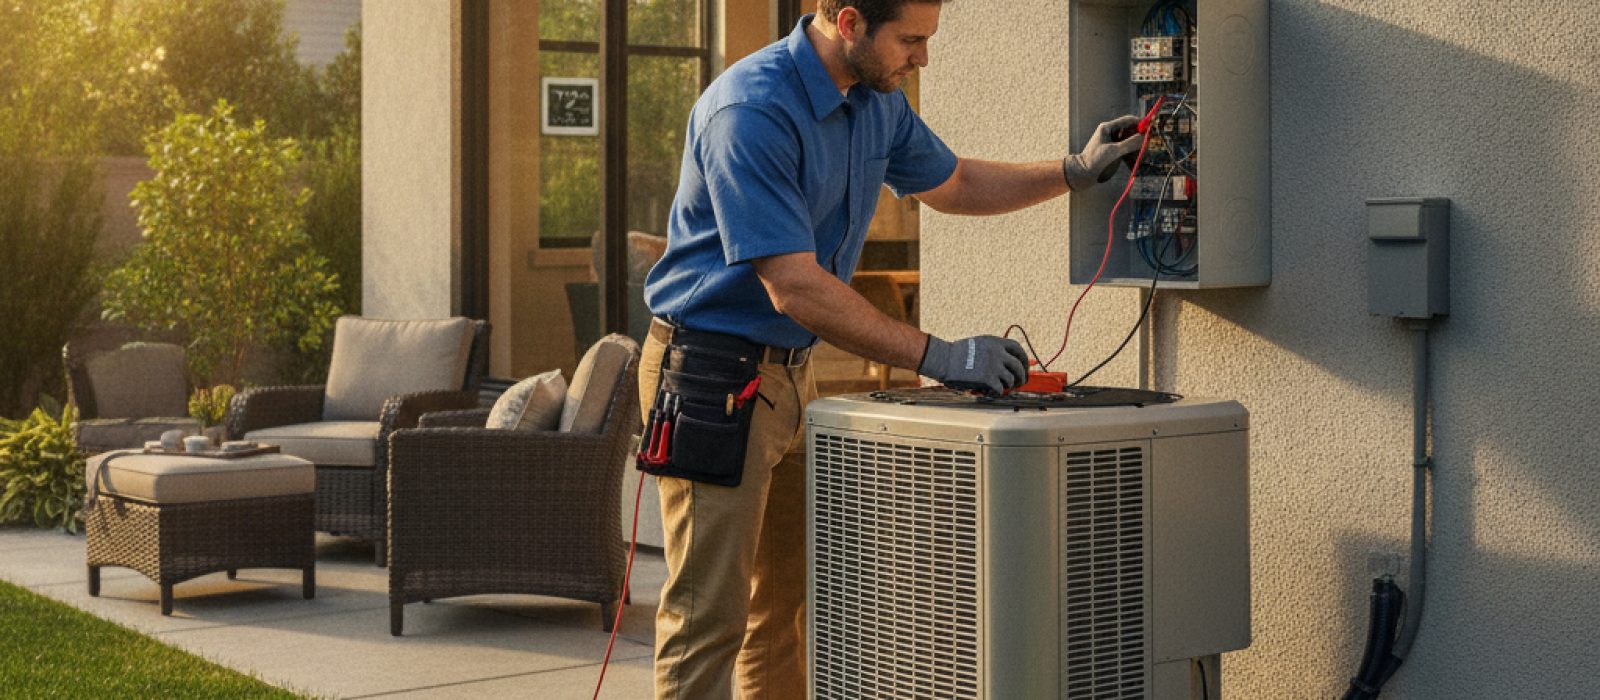
HVAC Disconnect Box: What It Is and Why It Matters
Learn the function of the HVAC disconnect box, why it is vital for safety, and how to identify when this critical component requires professional attention.
4 min read

Waiting until the first triple-digit day to test an air conditioning system often leads to discovery of mechanical failures when demand is highest. A systematic spring startup process allows homeowners to identify minor issues before they escalate into major repairs. This checklist covers the essential steps to ensure your system operates at peak performance throughout the cooling season.
The outdoor unit, or condenser, relies on unobstructed airflow to reject heat from the home. Over the winter months, debris such as fallen leaves, twigs, and grass clippings often accumulates against the fins or settles inside the cabinet.
If the condenser coils appear heavily soiled, a gentle rinse with a garden hose—using low pressure—can remove dust and grime. Always ensure the power to the unit is disconnected at the local service disconnect box before performing any cleaning near the electrical components.
Airflow restriction is the primary cause of many cooling system problems. A dirty filter forces the blower motor to work harder, which increases energy consumption and can lead to premature motor failure. During routine Maintenance & Tune-up sessions, technicians often find filters that have been neglected for months.
Check the filter at the start of spring and establish a schedule to inspect it at least once every 30 to 90 days, depending on pet ownership and household activity. If your home uses a specialized media filter or an electronic air cleaner, verify that these components are clean and properly seated in their tracks to support optimal Indoor Air Quality.
The thermostat acts as the brain of your cooling system. As the seasons change, verify that the programming matches your current schedule. If you use a programmable or smart thermostat, replace the backup batteries if applicable, and ensure the clock settings are accurate.
If the thermostat display is blank or unresponsive, check the electrical panel for a tripped breaker before assuming the unit has failed. For those considering an upgrade, professional Thermostat Services can help integrate modern controls that provide better precision and energy monitoring.
Walk through your home and ensure that all supply and return vents are open and unobstructed. Furniture, rugs, or heavy curtains placed over return vents can starve the system of necessary airflow, causing the evaporator coil to freeze even on hot days.
While checking the vents, observe the temperature of the air coming from the registers once the system is engaged. While a homeowner cannot measure the exact temperature split like a professional, a noticeable difference between the return air and the supply air is a positive indicator that the system is functioning.
While homeowners can handle basic cleaning and inspections, some components require specialized tools and technical expertise. A professional Maintenance & Tune-up visit includes tasks that extend the life of the equipment, such as measuring refrigerant levels, tightening electrical connections, and testing the start and run capacitors.
Refrigerant levels should remain stable in a sealed system; if the system is low, it indicates a leak that must be located and repaired by a licensed technician. Attempting to add refrigerant without proper training is dangerous and violates environmental regulations. Professionals also verify that the condensate drain line is clear; a clogged line can result in water damage to ceilings or walls near the indoor unit.
During the initial startup, listen for abnormal sounds. A healthy system should produce a steady hum of the fan and the compressor. Grinding, squealing, or metallic clanking noises often indicate worn bearings or loose mechanical parts that require immediate attention.
If the system fails to start, or if it cycles on and off rapidly, avoid forcing the unit to run. Rapid cycling can damage the compressor, which is one of the most expensive components to replace. If these symptoms occur, it is prudent to schedule a professional inspection to diagnose the root cause before the heat of summer arrives.
Learn the function of the HVAC disconnect box, why it is vital for safety, and how to identify when this critical component requires professional attention.

Ensure long-term comfort and efficiency by asking the right questions about your home's ductwork design during the new construction process.
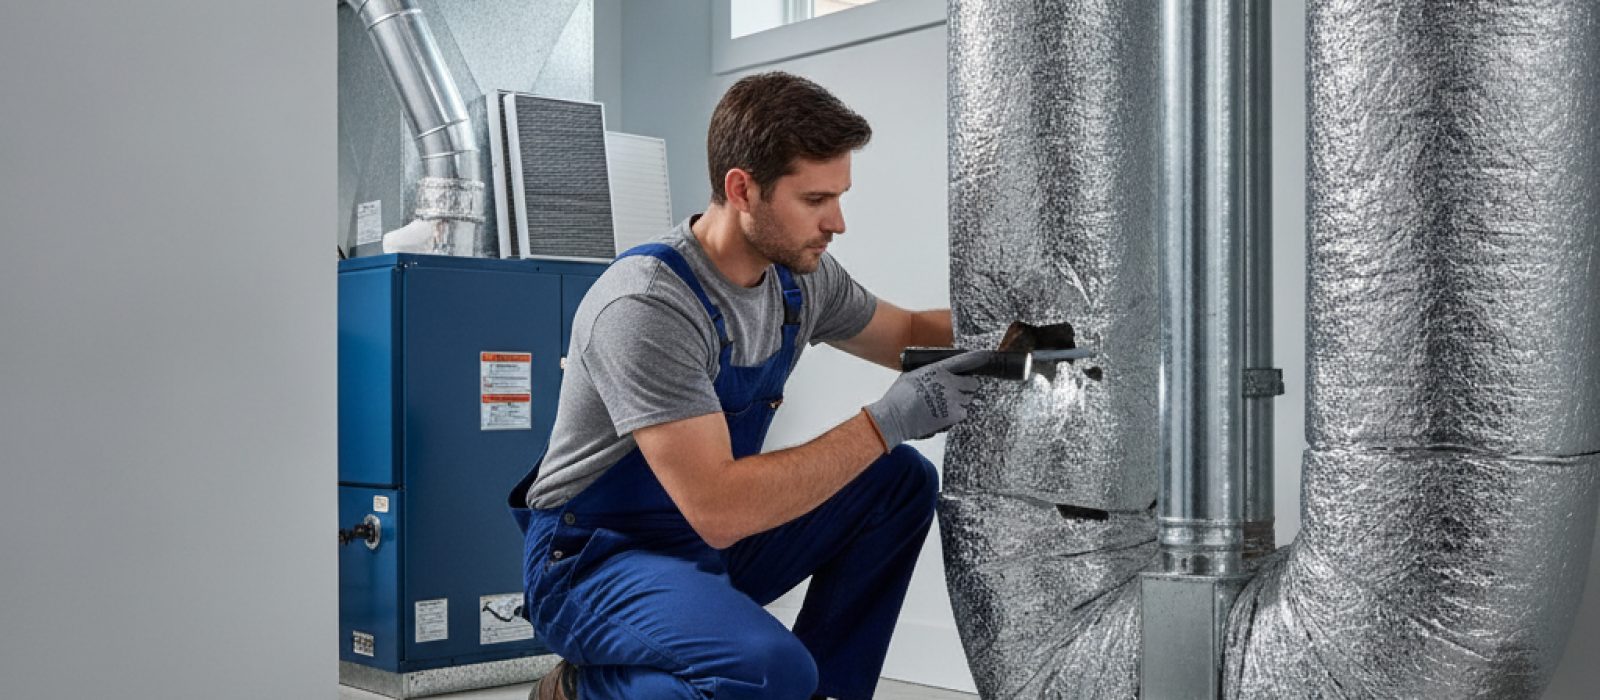
Discover the signs of rodent infestation in your HVAC system and learn how to identify, address, and prevent pest issues in your ductwork.
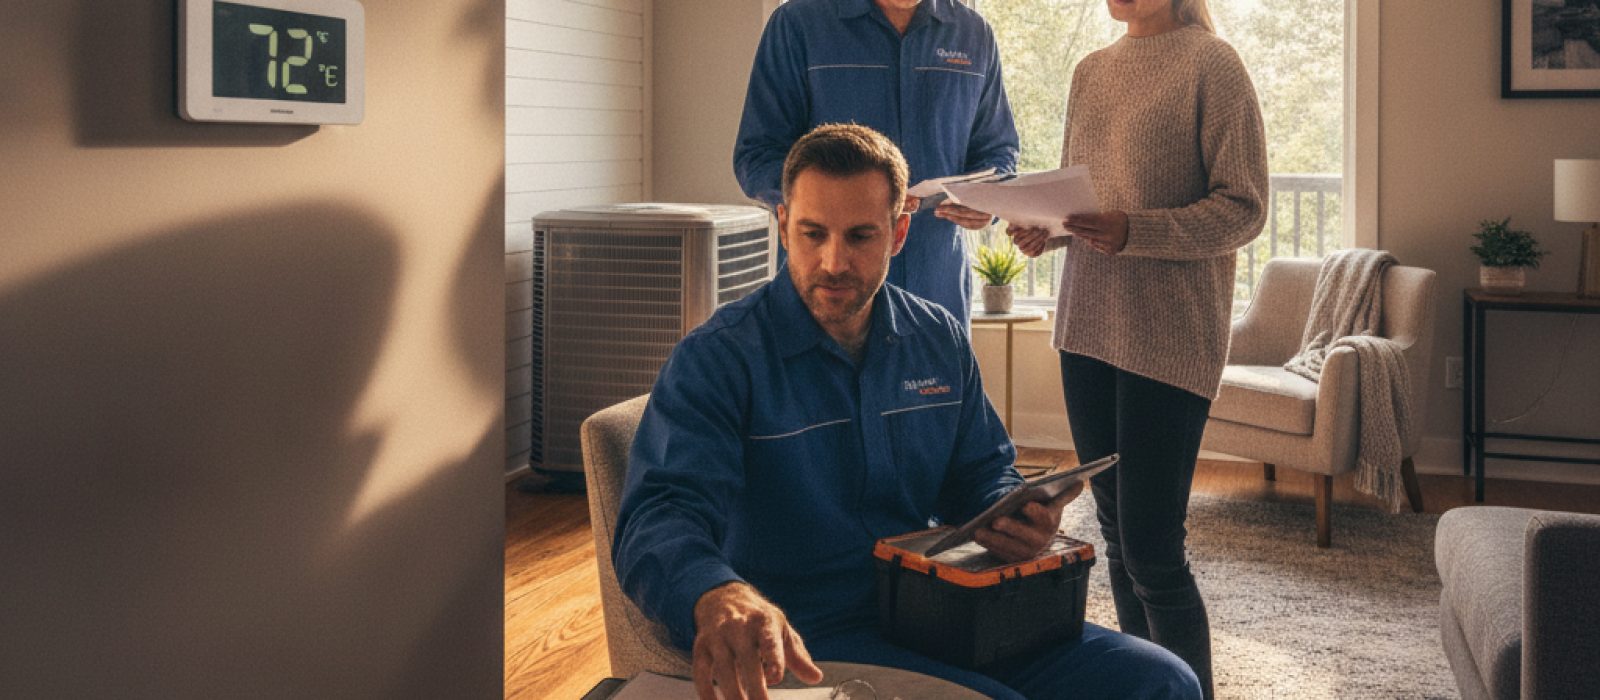
Learn why maintaining a detailed history of your HVAC service records protects your warranty, boosts resale value, and ensures system longevity.
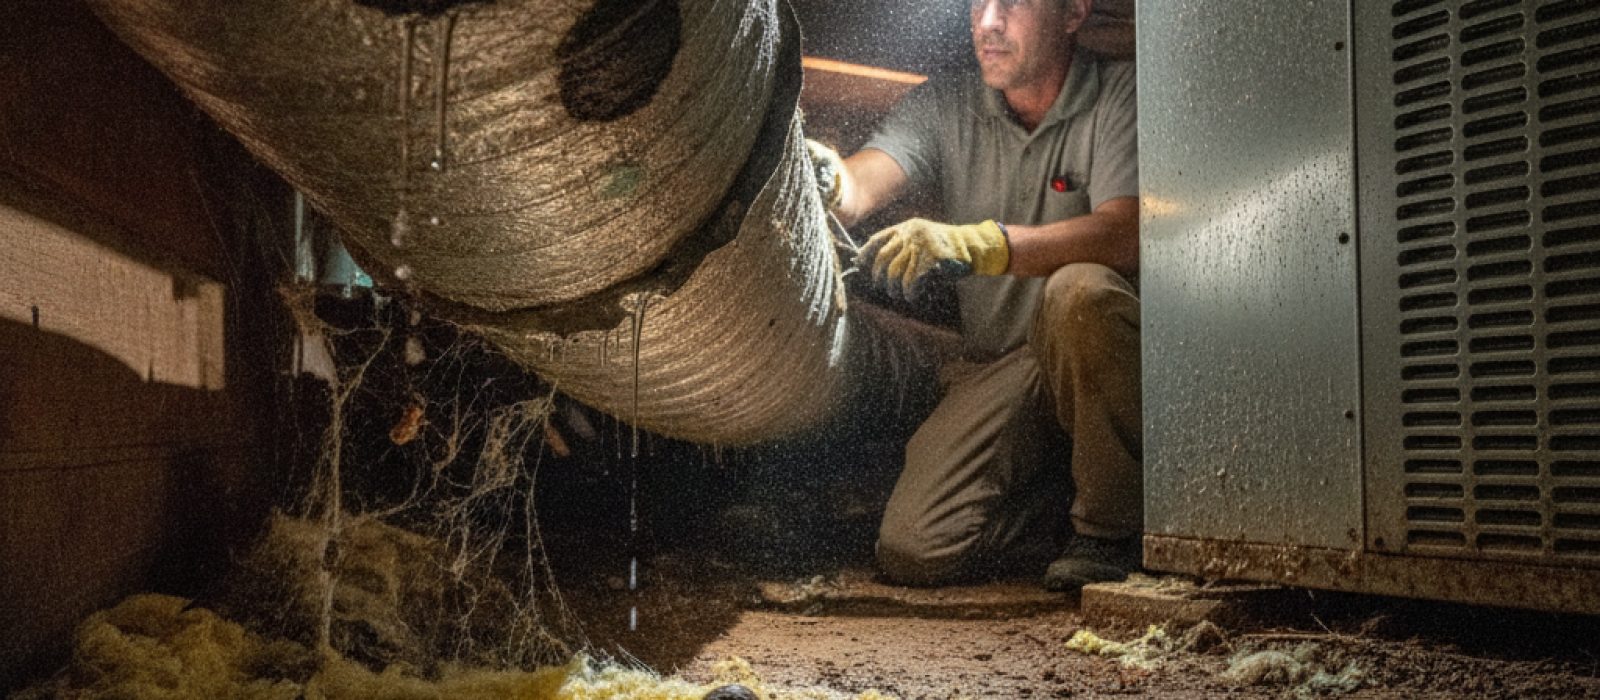
Learn how to identify and resolve common crawl space ductwork problems, including moisture buildup, pest intrusion, and damaged insulation.

Learn how upgrading or maintaining your HVAC registers and grilles can optimize home comfort, improve efficiency, and protect your indoor air quality.
Be the first to comment.