
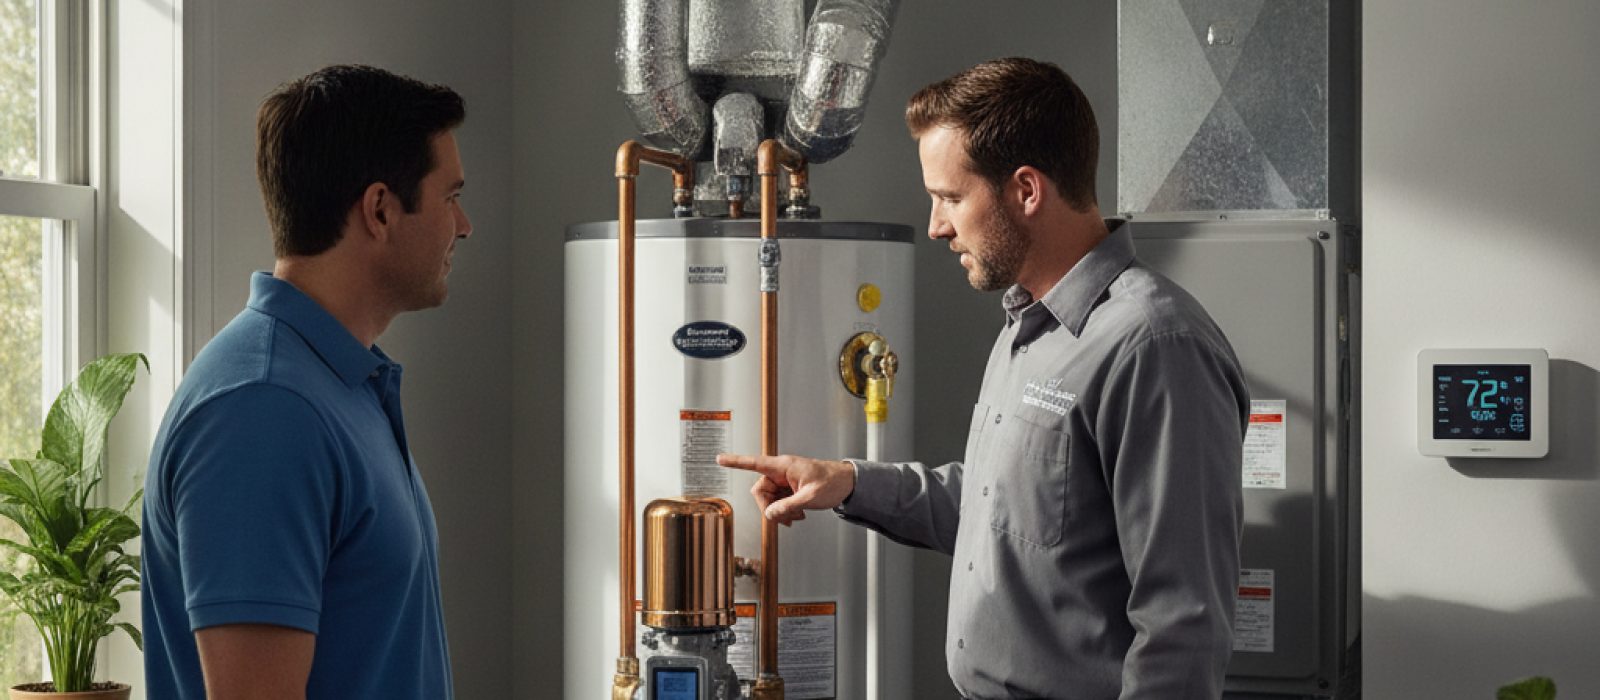
Hot Water Recirculating Pumps: How They Work and What They Cost
Learn how hot water recirculating pumps provide instant hot water, the different installation types, and the factors that influence overall project costs.
4 min read

Replacing an HVAC system is a significant home improvement project that requires careful coordination. Once the installation date is set, the primary goal for the homeowner is to provide clear access to the equipment areas. This typically includes the basement, attic, crawl space, or exterior condenser pad.
Remove any personal belongings, storage boxes, or clutter surrounding the indoor and outdoor units. Technicians require a wide clearance to maneuver heavy equipment, tools, and refrigerant lines safely. If the system is located in an attic, ensure that the path leading to the access hatch is clear of obstructions. Providing a workspace free of debris helps technicians maintain focus and prevents accidental damage to household items.
The installation crew typically arrives in the morning to maximize daylight hours. The lead technician will begin by performing a final walk-through of the home to verify the equipment specifications against the original estimate. Before any work begins, the team will shut off the power at the main electrical panel and the local disconnect box to ensure a safe working environment.
For systems involving natural gas or propane, the gas supply line to the furnace is shut off and verified with a leak detector. This is a critical safety measure that must be handled by licensed professionals to prevent hazardous conditions. If your project includes related Electrical Services to upgrade your panel or disconnect, this will also be addressed during this initial phase.
Once the system is de-energized, the crew begins the removal process. This involves disconnecting the refrigerant lines, electrical wiring, and the flue pipe or venting system. Refrigerant must be captured using specialized recovery equipment; it is never vented into the atmosphere, as it is strictly regulated and hazardous to the environment.
The indoor unit—whether a furnace, air handler, or evaporator coil—is carefully dismantled and removed from the cabinet. If the ductwork is aged or damaged, this is the ideal time to incorporate Ductwork Services to ensure the new system operates at its peak efficiency. The outdoor condenser unit is disconnected and hauled away, along with the old indoor equipment, for proper recycling or disposal.
Installation begins with placing the new equipment in the designated location. The indoor unit is leveled and secured, and new refrigerant lines are installed if the existing lines are incompatible or contaminated. Proper sizing and installation of these lines are vital for long-term system health.
The technicians will then connect the electrical components, ensuring that all wiring meets current safety codes. If the system utilizes a heat pump, the reversing valve and control wiring are meticulously configured. For those investing in Energy Efficient Solutions, this is the stage where high-efficiency components, such as variable-speed motors or advanced filtration systems, are integrated into the cabinet.
A new system is only as effective as the air distribution network it serves. The crew will connect the new equipment to the existing ductwork using transitions that minimize airflow resistance. All joints and seams are sealed using high-quality mastic or UL-rated foil tape to prevent conditioned air from leaking into unconditioned spaces.
If the installation reveals significant gaps or blockages in the ventilation, the technicians may advise on further Air Duct Cleaning or repair to prevent the new system from overworking. Properly sealed ducts ensure that the air volume meets the manufacturer’s specifications for the specific tonnage of your new unit.
After all mechanical and electrical connections are verified, the system undergoes a series of startup tests. Technicians check the refrigerant charge, measure the temperature split across the coil, and ensure the blower motor is operating at the correct static pressure. They will also cycle the system through both heating and cooling modes to confirm that every component, including the thermostat, is communicating correctly.
This is the stage where the system is balanced. The technicians verify that the airflow reaches all rooms evenly and that the condensate drain is clear and functional. Safety switches, such as float switches that prevent water damage, are tested to ensure they would trigger in the event of a clog.
Before the crew leaves, the lead technician will conduct a final walkthrough with you. They should demonstrate how to operate the new thermostat, explain how to change the air filter, and point out the location of the main power disconnect and gas shut-off valves.
You should also receive a summary of the work performed, any warranty registration information for the new equipment, and a schedule for future maintenance. Regular Maintenance & Tune-up visits are essential to keep the manufacturer's warranty valid and to ensure the system continues to operate efficiently throughout its lifespan.
Learn how hot water recirculating pumps provide instant hot water, the different installation types, and the factors that influence overall project costs.
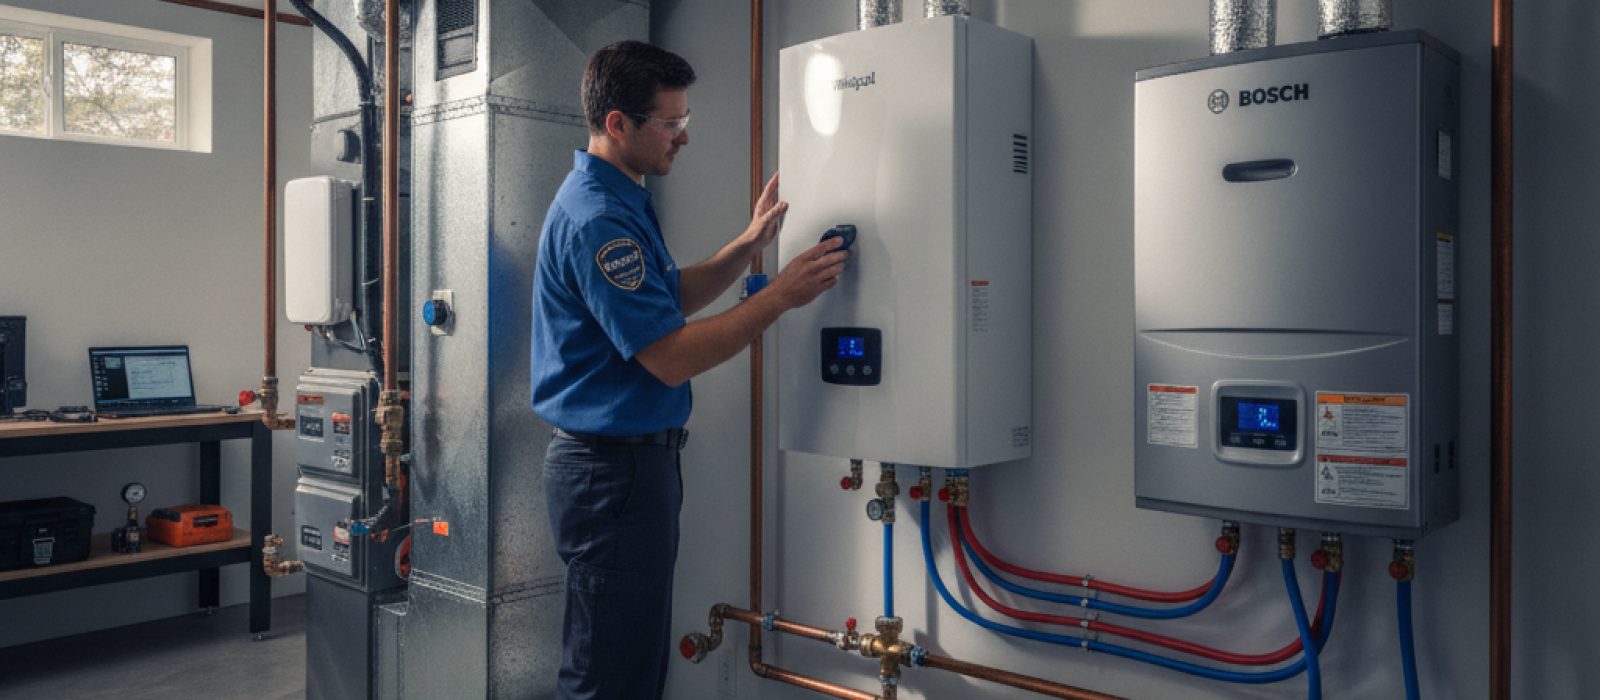
A practical guide to understanding the operational differences, maintenance needs, and common troubleshooting steps for Whirlpool and Bosch water heaters.
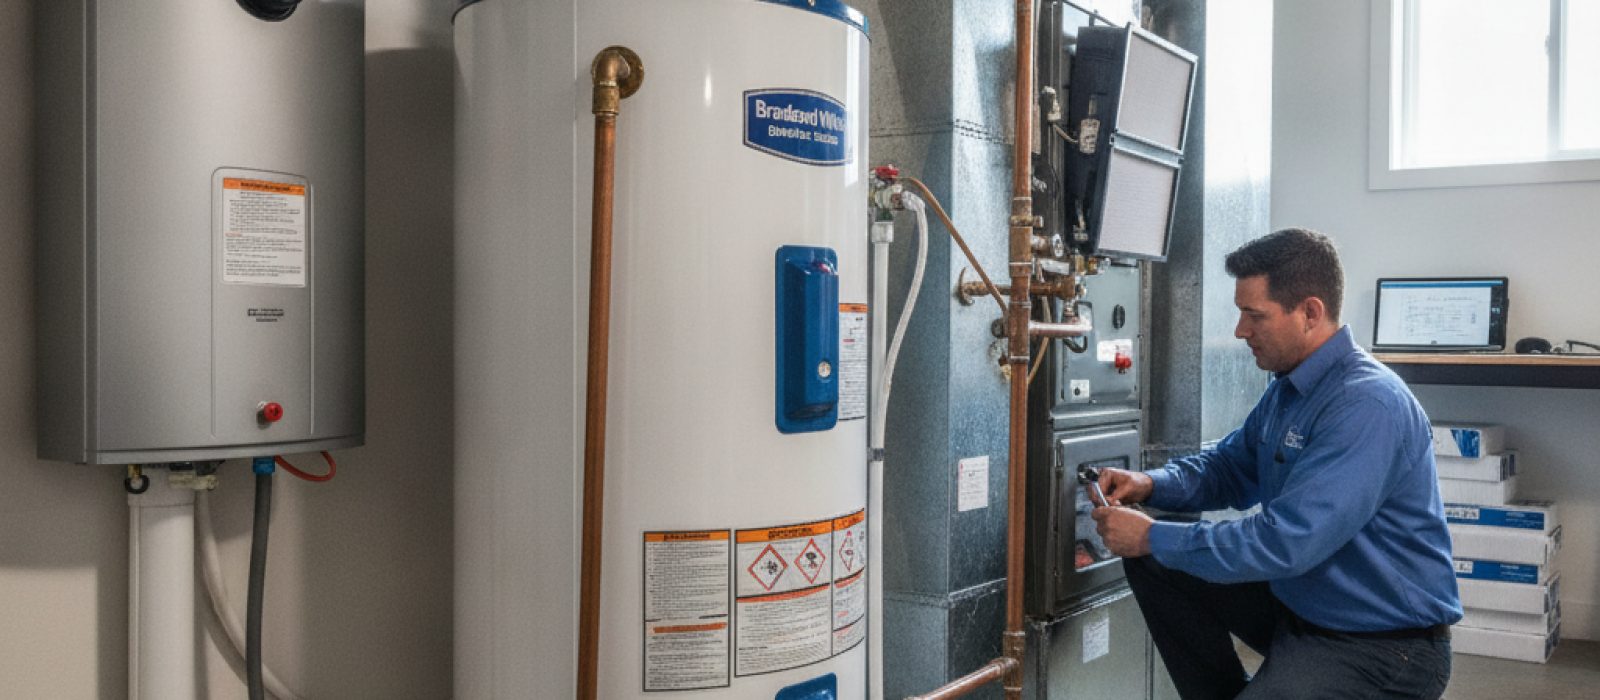
Learn how to choose between 40 and 75-gallon Bradford White water heaters and understand which model fits your home's hot water demands.
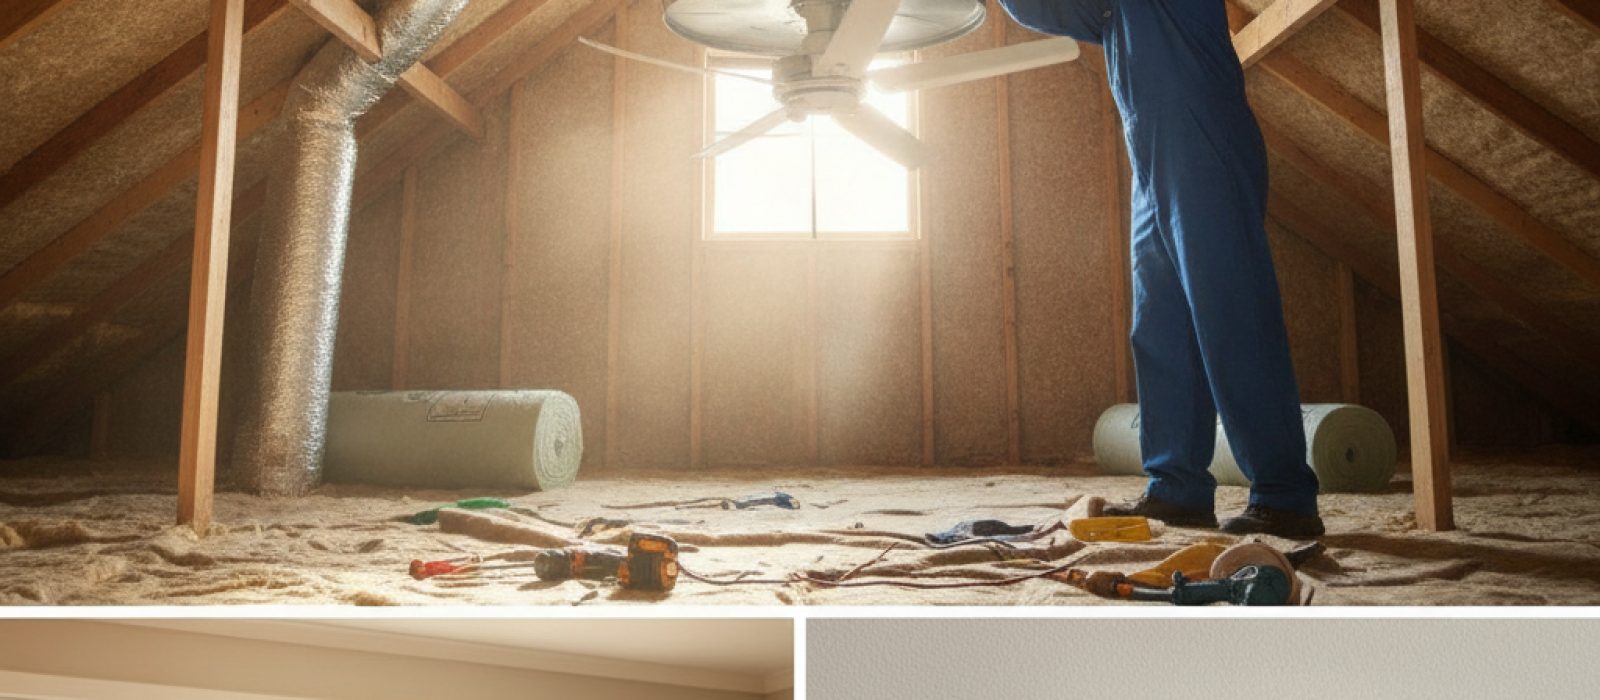
Learn how attic fans manage thermal buildup, the factors influencing installation costs, and the critical mistakes to avoid for a balanced home system.
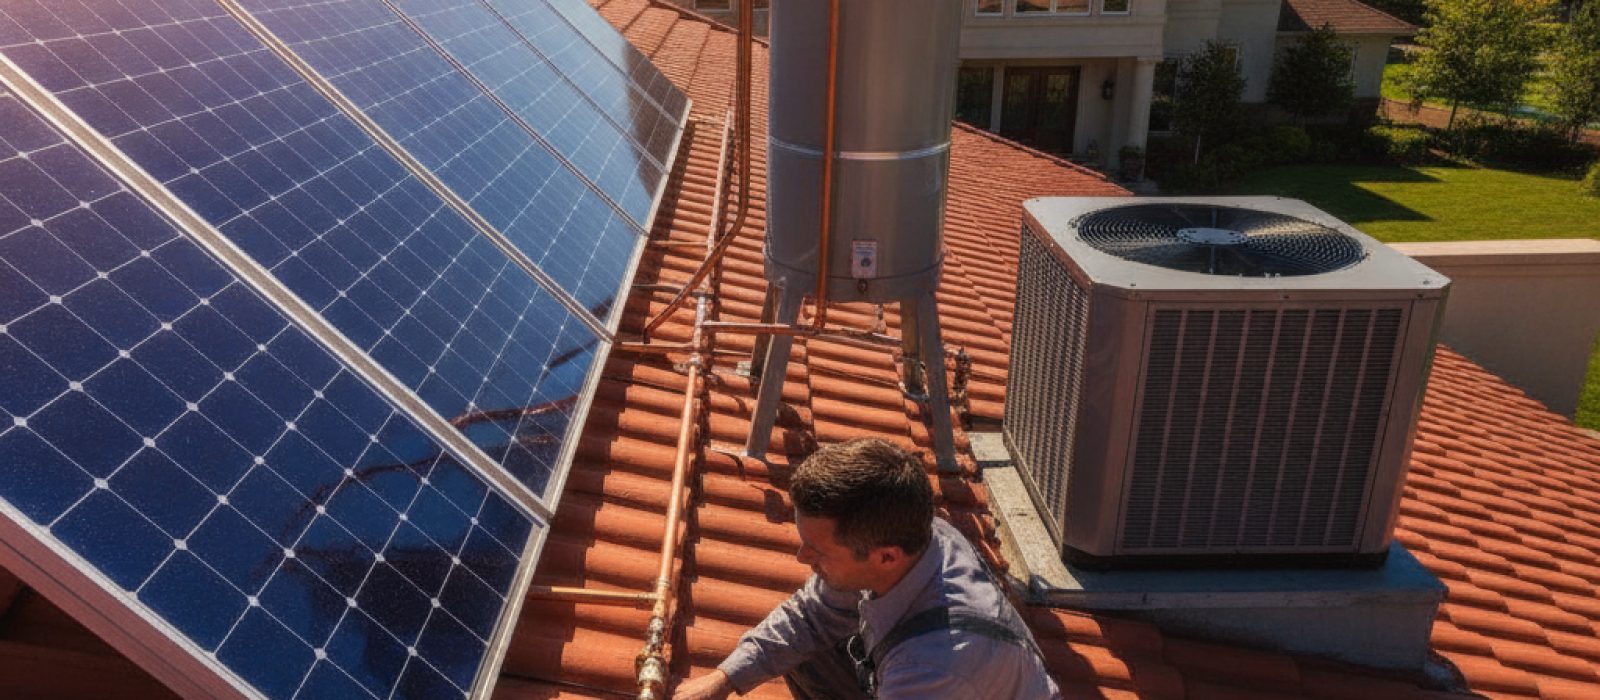
Understand the mechanics, efficiency benefits, and practical considerations of installing a solar-powered water heating system in your home.
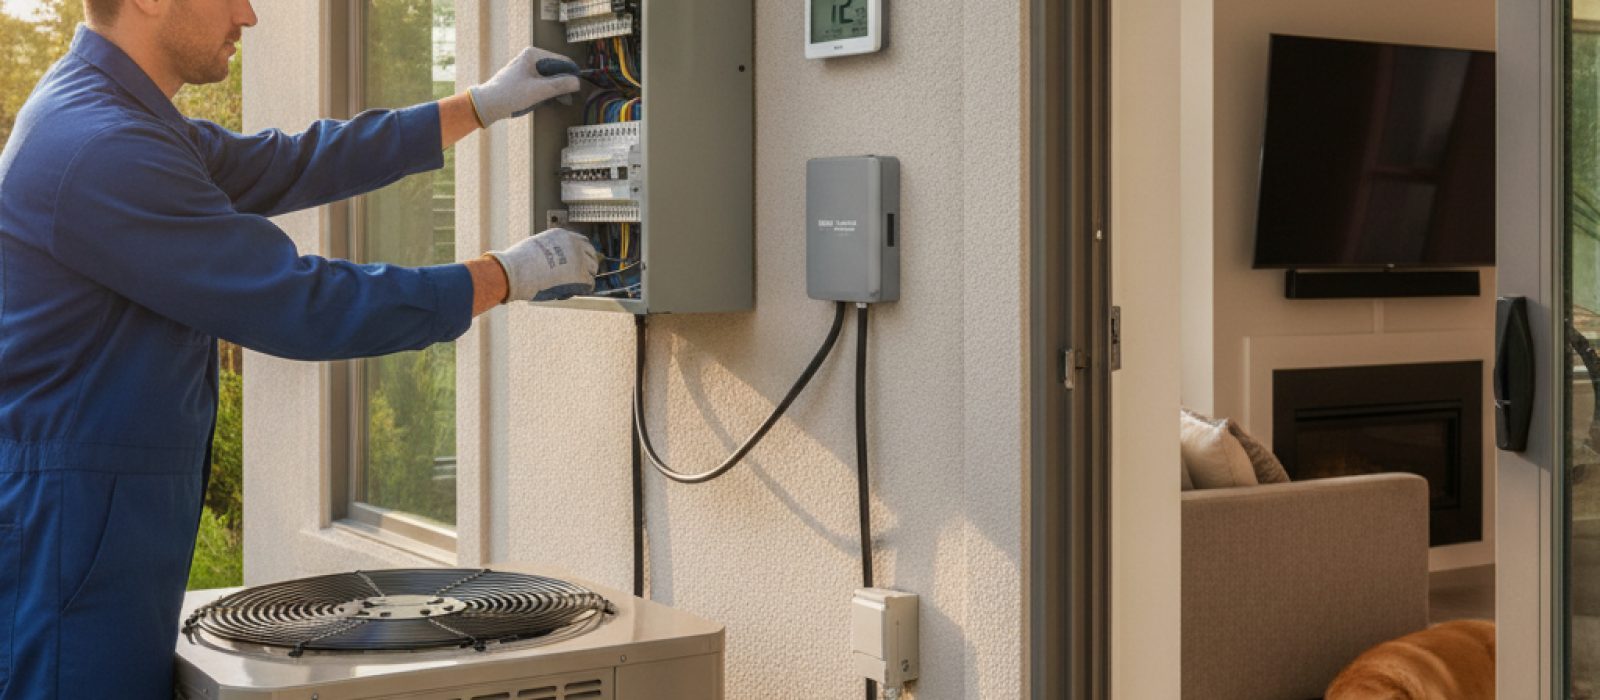
Learn how whole-house surge protectors safeguard sensitive HVAC equipment and home electronics from damaging power spikes and electrical surges.
Be the first to comment.